Overview
Modulus allows you to track products you buy and sell by setting up categories and information for products.
Understanding Modulus Product Types
Gift – These are Products Codes (SKUs) used to create Gift Vouchers either with Modulus EPOS system or with Modulus Online. Using these SKUs will not change inventory values or numbers. However, you will be able to keep track of all the Vouchers your business generated. (In order to use this feature and track all your Gift Vouchers' generation, redemption, and tracking, you must subscribe to the Gift voucher module.)
Normal- This is the default Product Type. It's important to keep track of these items because they are usually purchased and sold. Purchase Orders, Sales Orders, Stock Transfers, etc. can be created for these items.
Service - These are items that allow you to record a sale when you render a service. The sale of services is not considered inventory, however the sale is recorded in the register.
Categories & Sub Categories
It is recommended that you organise your Products into Categories and Sub Categories. Segmenting your products makes it easier to manage your stock and to understand business reports for Sales, Profit Margin, Inventory, Stock Control, etc.
Step 1: Products- Navigate to Products from the main menu and click Create Product.

Step 2: Product Information- Complete the following fields under Product Information

Title* | Enter a title for this item as you would like it to appear on sale and order - and on your website when you add it. |
Description | Describe the product exactly as you want it to be described on orders and sales |
Brand* | To differentiate the product from other brands' products, enter the brand name |
Product type | From the available types, select the product type |
Tags | If applicable, provide the relevant tags. Ensure consistency with Tags to enable data filtering for reporting |
Step 3: Inventory- Complete the following fields under Inventory

| SKU* | The product's unique code (Stock keeping unit) should be entered. |
| Barcode | Entries on bar codes can be up to 13 characters long and in alphanumeric format. |
| Stock | Whenever you enter this product into the system, any stock of this product already existing in the system will be displayed. |
- Add Variants: If the Product contains variations such as colour and/or size, click the Add Variants link (this opens a pop up where you can add colours and sizes to the product). Keeping your colour and size consistent will allow you to filter your data for reporting.


Step 4: Pricing- Complete the following fields under Pricing

Cost: | Fill in the price for each product. |
| Tax (%): | Enter the tax that must be added to the cost per unit. |
| Price (RRP): | Set a price for the item including tax. |
| Selling At: | Price the product at the price you would like it to sell for. |
| Margin (%) : | The system calculates the margin from the sales price (including tax) and displays it. The percentage represents your profit percentage for selling the product at the price mentioned in Price (incl. tax). |
Step 5: Images- Each product can have one picture
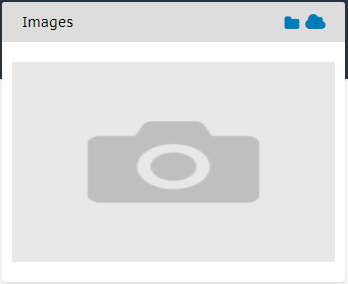
- Select the folder option and select an image from your stored objects to upload.
- Alternatively, you may provide the product link by selecting the cloud option.
Step 6: Categories
- Fill in the following fields under Categories
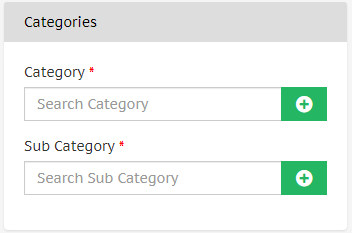
Category* | If applicable, choose the relevant category |
Sub Category* | Subcategories are shown based on the category chosen above |
Step 7: Save- To upload the product in the system, click on save.

- A notification will appear in the upper right corner if the product is successfully generated.

- There will be a warning at the top right corner if mandatory fields are not filled out
